I have a sweet, little niece is who is in love with Minnie Mouse. I made her a set of these ears for Christmas and my four year old has been begging for her own pair ever since!
You can make multiple pairs from just a few materials!
Here's what you need:
Black yarn {I prefer Lion Brand Homespun for this project}
Black headband {I got mine at Dollar Tree}
Fabric for the bow { A Fat Quarter would be more than enough}
Pom-pom maker, or knowledge of how to make a pom-pom
Hot glue gun
Scissors
I prefer using a pom-pom maker, because I feel like it yields uniform pom-poms. I've had mine for years. I used the 3- 3/8 size by Clover. But, there are so many tutorials on Pinterest, don't feel like you need to go out and buy one!
Let's get started!
The first step is to make your pom-poms.
Start by wrapping two strands of yarn around one arm (the curved blue part) of your pom-pom maker.Be sure to wrap it really well. The arm should be thick with yarn. Close that side (like the first picture) and continue wrapping the second arm (like the second picture. Close your second arm so you have a full circle. Be sure to leave a long tail. You're going to use that to tie off the pom-pom. Slide your scissors into the middle of the pom-pom maker (like the fourth picture) and cut all the way around. Your long tails will get snipped during this step. Pull them out and wrap them around the middle of the pom-pom (where you just cut). Pull them tight, but don't make a know yet. Gently open all the arms of the pom-pom maker, and remove your pom-pom. Pull the tails as tight as you can, and then tie in a knot. Don't cut your tails!
Repeat all these steps to make a second pom-pom.
The reason I love the Homespun yarn for this project is that it turns into one sweet ball of fluff! Perfect for little mouse ears!
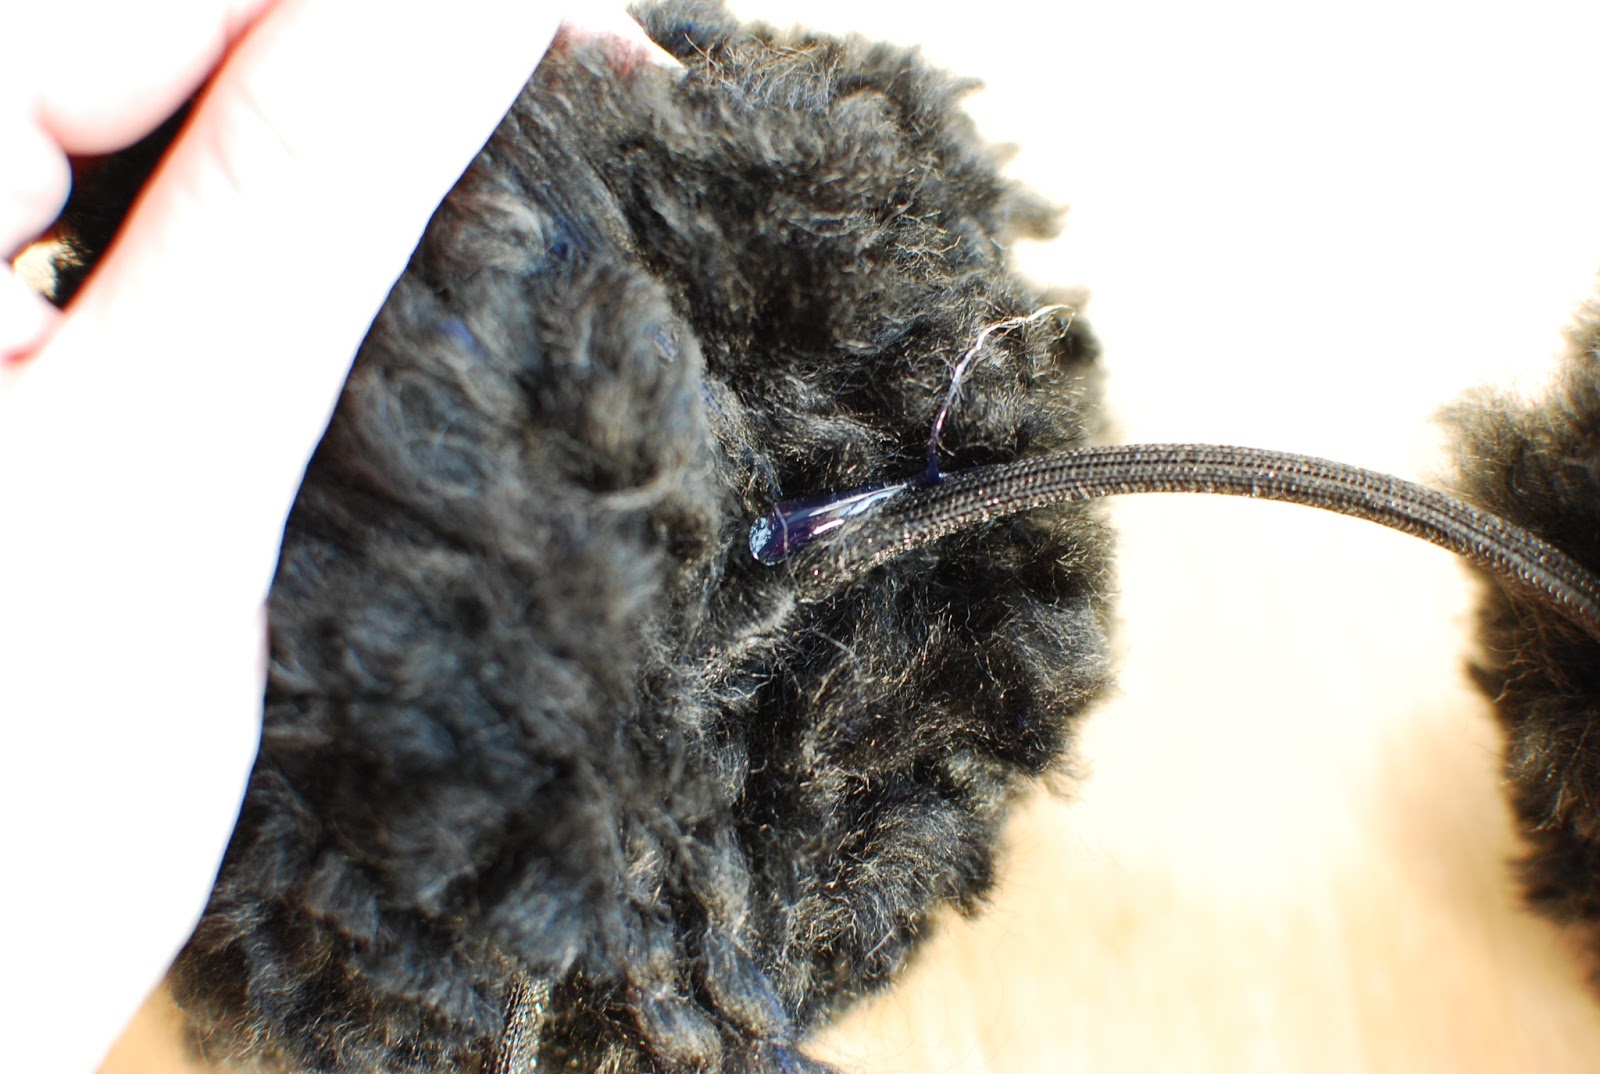
Tie your pom-poms to the head band. Position them so they look like Minnie Mouse ears.
Next, you're going to start wrapping the tails of your yarn around the base of the pom-pom and the headband. Secure with dots of hot glue. Once you've come to the end of your tails, trim them so they blend in with the ears.
You're halfway done! Now, onto the bow!
The fabric I used was approximately 12x6 inches and 1.5x6.
We'll start by making the center. Take your small piece of fabric and fold both long sides into the center. Secure the ends with a drop of hot glue.
Do the same for your large piece of fabric. I like to tuck the ends in as if I were wrapping a present.
Now, fold each short end in towards the middle, like this.
Pinch your bow in the middle, making the center like an accordion .
Next, we're going to secure the two fabric pieces together. Place your bow on top of your center. Fold the end and glue to the bottom of your bow.
Continue to wrap your small piece of fabric around the main section of the bow, securing with glue as you go. Once you're back to where you started, position the bow between the ears
Glue the bow between the ears, and keep wrapping with the rest of your small piece of fabric.
You're going to want to hide this end on the bottom of the headband. I glued down my raw edge of material and then folded it over, so it looked clean and finished. One more drop of hot glue, and my bow was in place.
That's it! You're finished! All you need to do now is help your delighted four year old into her Minnie dress and hand over the ears.
I hope you enjoyed this tutorial! If you have any questions, please feel free to leave me a comment!